
L'index du site Simvol
« Flight in an A400M » : différence entre les versions
Aller à la navigation
Aller à la recherche
Aucun résumé des modifications |
Aucun résumé des modifications |
||
| (3 versions intermédiaires par le même utilisateur non affichées) | |||
| Ligne 11 : | Ligne 11 : | ||
|site = [https://www.simvol.org/ Simvol] | |site = [https://www.simvol.org/ Simvol] | ||
|contact = [mailto:fly.simvol@simvol.org cliquez ici] | |contact = [mailto:fly.simvol@simvol.org cliquez ici] | ||
}} | |||
{{Encadré_rose | |||
|color=HotPink | |||
|titre= Information | |||
|image=[[Fichier:information_02.jpg|20px|gauche]] | |||
|texte= [[Vol en A400M| French version here ]] | |||
}} | }} | ||
| Ligne 39 : | Ligne 46 : | ||
The images are from a short video taken during the flight. | The images are from a short video taken during the flight. | ||
<br> | <br> | ||
=== | === List of actions and references to corresponding images === | ||
<br> | <br> | ||
* | * Adjust the FCU: display altitude (managed mode, up arrow), rate of climb, and heading (managed mode, green dot to the right of the display) (image 01) | ||
* | * Takeoff with maximum power (TOGA), V1 announced (image 02) | ||
* | * Rotation to VR (announced and/or indicated on the PFD) (image 03) | ||
* Vario >0, | * Vario > 0, retract the landing gear and engage the autopilot (push button illuminated) (image 04) | ||
* | * Check on the PFD (top lines, FMA): "Speed sel=xxx", A/THR, and target altitude in blue (image 05) | ||
* | * Adjust the display scale on the MD as desired (image 06) | ||
* | * When "LVR MCL" flashes in the FMA, move the power lever to MCL (first notch below TOGA). The rate of climb is displayed on the FCU (images 07 and 07). 08) | ||
* | * Cruise flight: Selected speed displayed on the FCU (img 09) | ||
* | * Managed descent mode, display the next set altitude at the STAR entry point (img 10) | ||
* | * Altitude and point reached, display the altitude of the next point (img 11), remain in managed mode unless necessary | ||
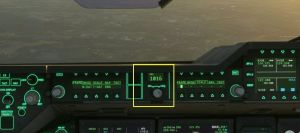
* | * Display the pressure at the destination airport (img 12) | ||
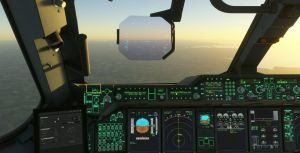
* | * Press the ILS button to prepare for the approach (img 13) | ||
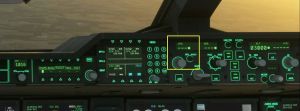
* | * Set the speed to managed mode for arrival (img 14) | ||
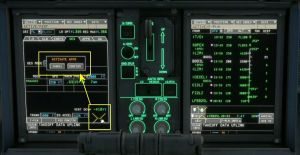
* | * Before entering the approach procedure, on the MCDU, confirm the approach (img 15) | ||
* | * Press the APPR button on the FCU to initiate the automatic approach procedure (img 16) | ||
* | * Arm the ground spoilers and the AUTO BRK to "medium" (img 17), extend the flaps according to the PFD display | ||
* | * Verify that Everything is correct (image 18) | ||
* | * On final approach, lower the landing gear (image 19) | ||
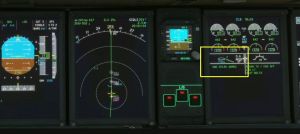
* | * Flaps in "Full" position (image 20) | ||
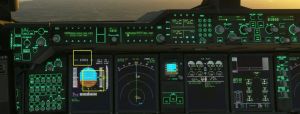
* | * Check the PFD: Green G/S, ILS diamonds positioned (image 21) | ||
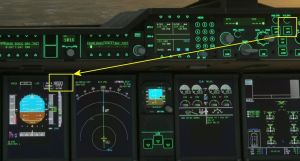
* | * If a Category III landing is planned, activate AP2 (image 22) | ||
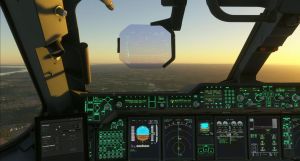
* | * Follow the approach (image 23) | ||
* | * At the decision altitude (announced), cut the autopilots and complete the landing (image 24) | ||
* | |||
* | * Once on the ground, apply reverse throttle to slow the aircraft (image 25) | ||
* | * Complete the taxi at normal throttle (image 26) | ||
* Parking brake engaged, flight complete (image 27) | |||
=== Images | === Images cited in the list (by their number)=== | ||
<gallery class="center" heights=200px widths=300px> | <gallery class="center" heights=200px widths=300px> | ||
| Ligne 103 : | Ligne 111 : | ||
<hr> | <hr> | ||
== <div style="color:navy;"><FONT face="arial"> Notes | == <div style="color:navy;"><FONT face="arial"> Notes and references</font></div> == | ||
[[Catégorie:MSFS]] | [[Catégorie:MSFS]] | ||
Dernière version du 13 juin 2026 à 11:31
| Flight in an A400M | |
|---|---|

| |
| par Pacha35 | |
| Pays |  France France
|
| Région |  Bretagne Bretagne
|
| Département |  Ille-et-Vilaine Ille-et-Vilaine
|
| Objet | Flight under auto-pilot |
| Références | |
| Site web | Simvol |
| Contact | cliquez ici |
Information

A400M flight under auto-pilot

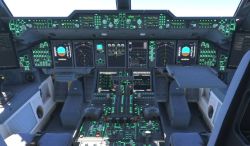
The A400M is a military transport aircraft manufactured by Airbus. It equips the French Air and Space Force, as well as several other armed forces, where it replaces the aging C160 Transall. It has been offered as standard equipment in FS2024 since early 2026. It is now possible to use it in "employee" mode in career mode if you have the "oversized cargo" rating.
For those familiar with Airbus aircraft, it's easy to find your bearings. The FCU is identical, as is the FMA of the PFD, and the MCDU is the same as the A350 and A380 and is quite easy to use.
A tutorial is available on Simvol for loading a flight plan.
Prerequisites
- Have the FS2024 version of MSFS (or have purchased a paid version for FS2020),
- have loaded the flight plan into the MCDU (see tutorial on Simvol),
- have configured your power sticks (using the aircraft's EFB).
Flight description
This article is not a tutorial, just a summary of how to use a flight plan with the A400M's autopilot.
The images are from a short video taken during the flight.
List of actions and references to corresponding images
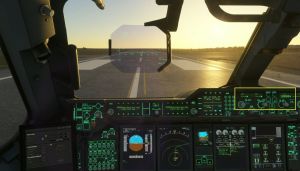
- Adjust the FCU: display altitude (managed mode, up arrow), rate of climb, and heading (managed mode, green dot to the right of the display) (image 01)
- Takeoff with maximum power (TOGA), V1 announced (image 02)
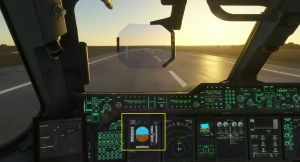
- Rotation to VR (announced and/or indicated on the PFD) (image 03)
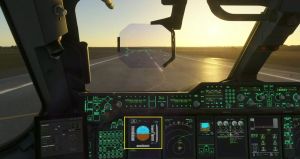
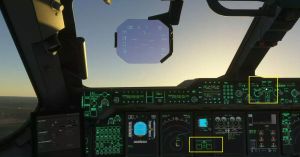
- Vario > 0, retract the landing gear and engage the autopilot (push button illuminated) (image 04)
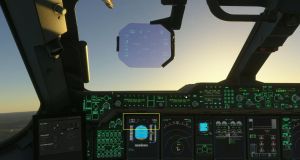
- Check on the PFD (top lines, FMA): "Speed sel=xxx", A/THR, and target altitude in blue (image 05)
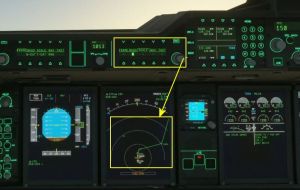
- Adjust the display scale on the MD as desired (image 06)
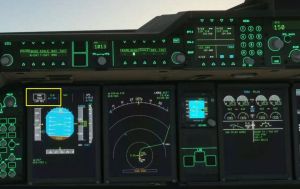
- When "LVR MCL" flashes in the FMA, move the power lever to MCL (first notch below TOGA). The rate of climb is displayed on the FCU (images 07 and 07). 08)
- Cruise flight: Selected speed displayed on the FCU (img 09)
- Managed descent mode, display the next set altitude at the STAR entry point (img 10)
- Altitude and point reached, display the altitude of the next point (img 11), remain in managed mode unless necessary
- Display the pressure at the destination airport (img 12)
- Press the ILS button to prepare for the approach (img 13)
- Set the speed to managed mode for arrival (img 14)
- Before entering the approach procedure, on the MCDU, confirm the approach (img 15)
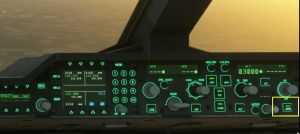
- Press the APPR button on the FCU to initiate the automatic approach procedure (img 16)
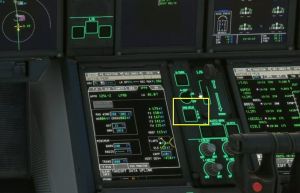
- Arm the ground spoilers and the AUTO BRK to "medium" (img 17), extend the flaps according to the PFD display
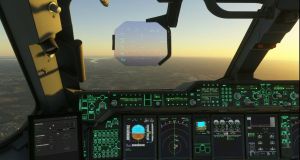
- Verify that Everything is correct (image 18)
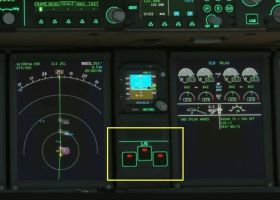
- On final approach, lower the landing gear (image 19)
- Flaps in "Full" position (image 20)
- Check the PFD: Green G/S, ILS diamonds positioned (image 21)
- If a Category III landing is planned, activate AP2 (image 22)
- Follow the approach (image 23)
- At the decision altitude (announced), cut the autopilots and complete the landing (image 24)
- Once on the ground, apply reverse throttle to slow the aircraft (image 25)
- Complete the taxi at normal throttle (image 26)
- Parking brake engaged, flight complete (image 27)
Images cited in the list (by their number)
01
02
03
04
05
06
07
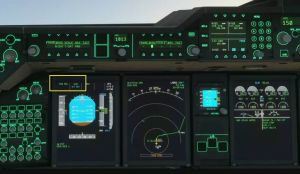
08
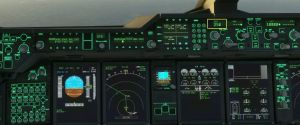
09
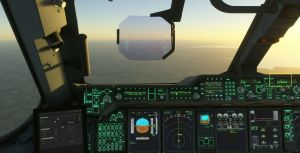
10
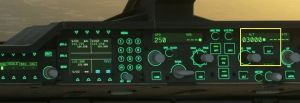
11
12
13
14
15
16
17
18
19
20
21
22
23
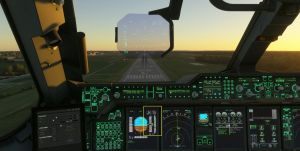
24
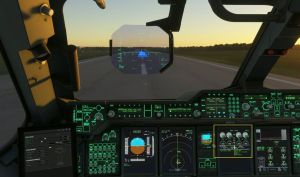
25
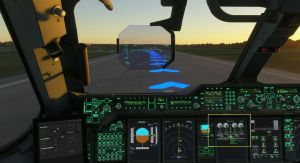
26
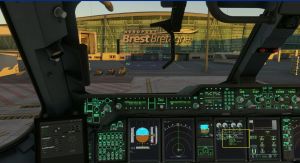
27


